Atomic design is a popular design methodology that has gained immense popularity in recent years. The main idea behind atomic design is to break down the interface of a web application into smaller, reusable components that can be easily combined to create more complex UIs. ReactJS is a popular JavaScript library that is often used to build UI components, and it is a perfect match for atomic design principles. In this blog post, we will explore atomic design in ReactJS and how it can be used to build reusable and maintainable UI components.
What is Atomic Design ?
🔗Atomic Design is a methodology for creating design systems that can be used to build interfaces. The methodology is based on breaking down the interface into smaller, more manageable components. These components are organized into a hierarchy that starts with the smallest, most basic components and builds up to more complex components.
Why we need this ?
🔗The need for some kind of a design system appears when we start to get overwhelmed by the count of components on a project. In projects where there are a hundred or two hundred components, it is not easy to remember everything.
Structure
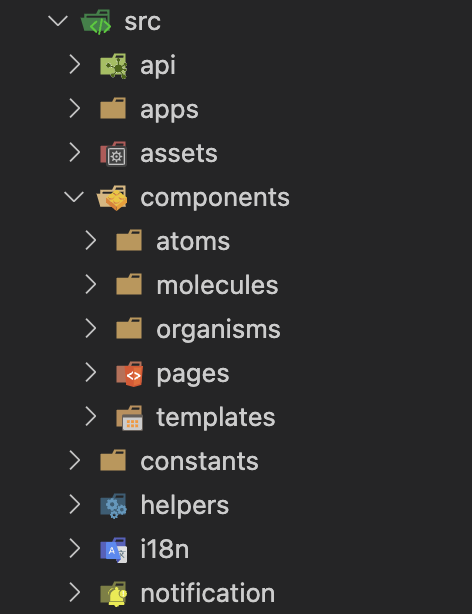
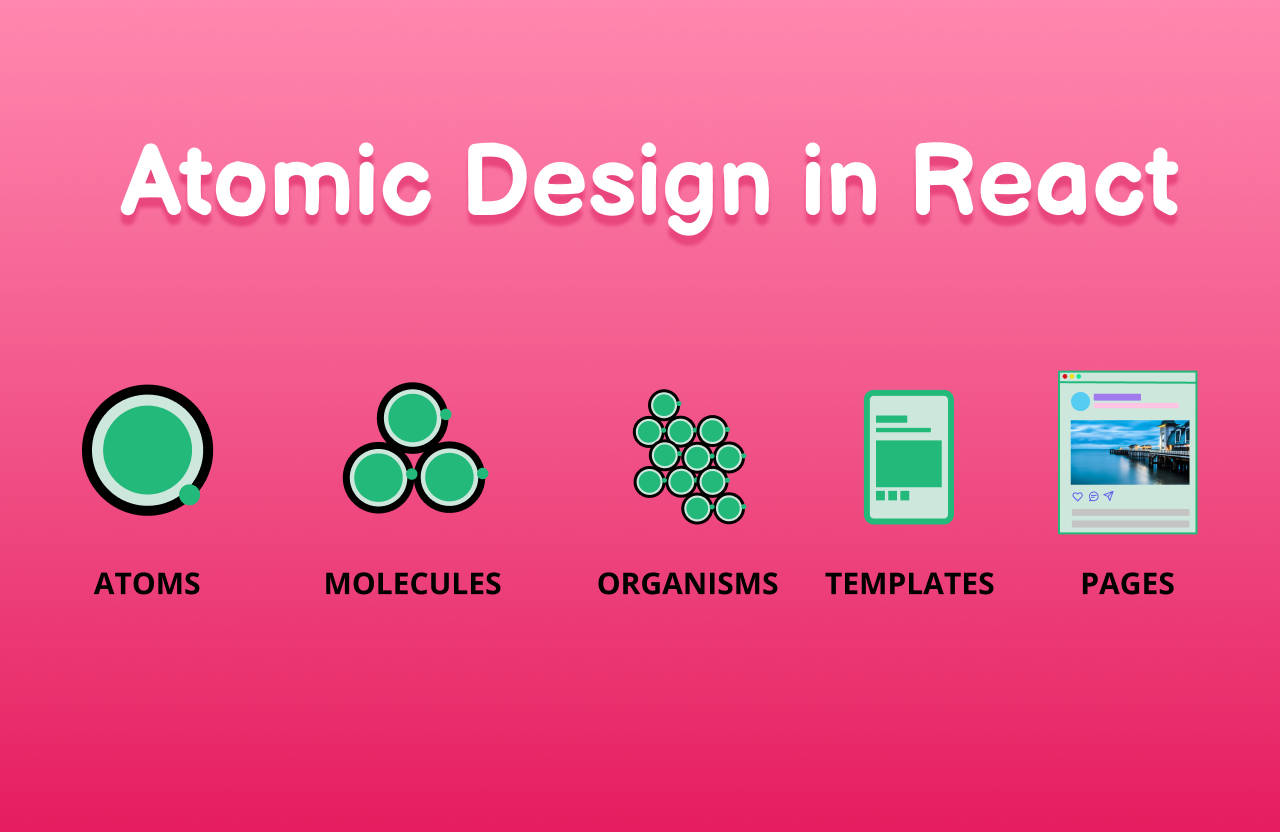
🔗The five levels of the atomic design hierarchy are:
-
Atoms: These are the smallest building blocks of a design system. Atoms are the basic elements such as buttons, inputs, and labels. -
Molecules: These are a combination of two or more atoms. They are relatively simple components, such as forms or cards. -
Organisms: These are complex components made up of molecules and atoms. Examples include headers, footers, and navigation menus. -
Templates: These are the page-level templates that bring together organisms and molecules to create a complete page layout. -
Pages: These are the final output of the design system. Pages are the actual content that users see and interact with.
The idea behind atomic design is that each level of the hierarchy should be reusable and modular, making it easier to create new designs and maintain existing ones.